Managing Your Smart Lists
If you currently do not have any contacts, you may not see this entire help guide.
***NOTE:Depending on your user permissions, you may not have access to all of the components***
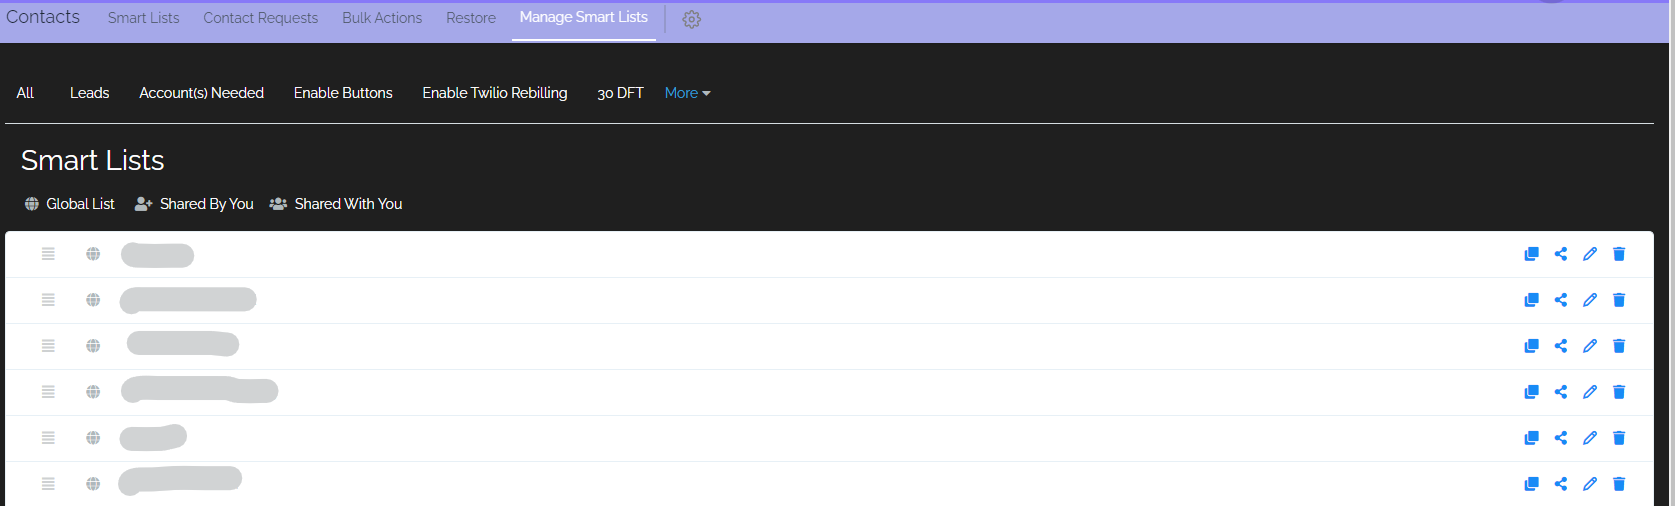
Smart List Card
Each created smart list will get its own table card. This table card can be moved to organize your smart lists, and also contains quick action buttons to the far right of the card.

Drag and Drop
To organize your smart list table, simply use this icon to drag and drop the smart list either up or down in the table.
Smart List Settings
In settings, you can edit smart list names, duplicate existing smart lists, delete smart lists, as well as share them with other users in your CRM.

Duplicate Smart List
You can duplicate existing smart lists by using this button. This is useful when needing to quickly copy a set of filters previously used on another smart list.
Sharing Smart Lists
When creating smart lists, you have the ability to share them with everyone, or only with some CRM users. These icons will show next to each smart list in the settings area:
= Shared globally with every user in your CRM.
= Smart list was created by you and shared with others.
= Smart list was created by another user and shared with you.
Edit Smart List Name
This button will allow you to change the name of your smart list
Delete Smart List
If you need to delete a smart list, you can select this button.
When deleting a smart list, the contacts will remain in your CRM, but the smart list will no longer appear.
Was this article helpful?
That’s Great!
Thank you for your feedback
Sorry! We couldn't be helpful
Thank you for your feedback
Feedback sent
We appreciate your effort and will try to fix the article